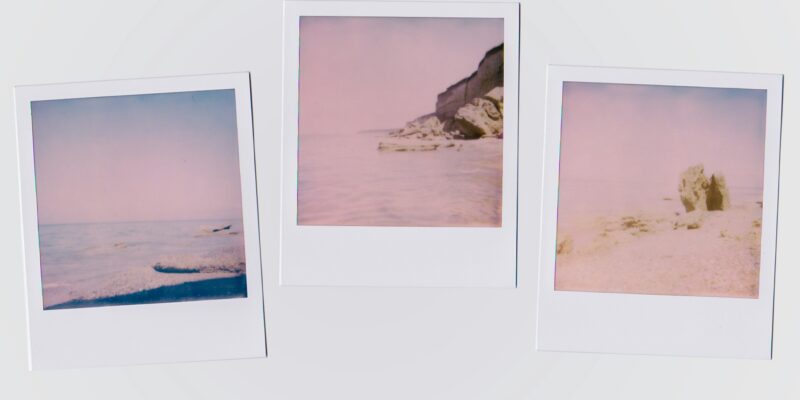
Creating a photo book is a fantastic way to preserve memories, showcase your photography, or create a personalized gift. With the right tools and a bit of creativity, you can produce a professional-looking photo book that you’ll cherish for years. Here’s a step-by-step guide to help you create your own photo book.
Step 1: Gather Your Photos
The first step is to gather all the photos you want to include in your photo book. Here are some tips:
– Choose a theme: Decide if your photo book will have a specific theme, such as a vacation, wedding, or year in review.
– Select high-quality images: Ensure the photos are high resolution to avoid pixelation.
– Organize your photos: Sort your photos into folders to make it easier to find and upload them.
Step 2: Choose a Photo Book Service
There are many online services where you can create and print photo books, if you’re just about to make a photo book, Mixbook stands out as one of the simplest to use.
Each service offers different templates, sizes, and customization options, so look through before you decide. Browse through a few others to see which one fits your needs and style.
Step 3: Select the Book Size and Format
Decide on the size and format of your photo book. Common sizes include:
– Square: 8×8, 10×10, 12×12 inches
– Landscape: 8×11, 11×14 inches
– Portrait: 8×10, 9×12 inches
Formats can range from softcover to hardcover, with various binding options like lay-flat or standard binding. Your choice will depend on your budget and the look you want to achieve.
Step 4: Design Your Layout
Most photo book services offer a range of templates and design tools. Here’s how to get started:
– Select a template: Choose a template that complements your photos and theme. Templates range from simple and clean to highly decorative.
– Arrange your photos: Drag and drop your photos into the template. Pay attention to the flow and try to tell a story with your images.
– Customize your pages: Add text, backgrounds, and embellishments. Write captions, quotes, or stories to accompany your photos.
Step 5: Edit Your Photos
Before finalizing your layout, take time to edit your photos:
– Adjust brightness and contrast: Make sure your photos are well-lit and clear.
– Crop and rotate: Ensure your photos are aligned and cropped to highlight the subject.
– Apply filters: If desired, use filters to create a consistent look throughout your book.
Step 6: Review and Finalize
Once your design is complete, review your entire photo book:
– Proofread: Check all text for spelling and grammatical errors.
– Check alignment: Ensure all photos and text are properly aligned.
– Preview: Use the preview function to see how your book will look in print.
Step 7: Place Your Order
When you’re satisfied with your design, place your order. Keep an eye out for discounts or promotions, as many photo book services frequently offer deals.
Step 8: Enjoy and Share
After your photo book arrives, take time to enjoy your creation. Share it with friends and family, or give it as a gift.
Tips for a Great Photo Book
– Keep it simple: Less is often more. Avoid cluttered pages.
– Be consistent: Stick to a consistent style for fonts, colors, and photo edits.
– Tell a story: Arrange your photos to narrate a story or journey.
– Mix layouts: Vary your layouts to keep the book interesting. Combine full-page photos with collages.
– Use high-quality materials: If budget allows, opt for premium paper and covers.
Creating a photo book is a rewarding project that results in a tangible keepsake. With these steps, you can make a beautiful photo book that captures your precious memories.